Why Proper Blow-Drying Matters
Blow-drying Afro hair can be a game-changer for styling versatility. However, improper techniques can lead to dryness, breakage, and heat damage. A well-executed blow-dry can stretch your curls, make styling easier, and even help retain moisture when done correctly. This guide will teach you effective and safe blow-drying methods. You will also learn about the best tools and products. There are expert tips included to help keep your hair healthy.
🔎 What You’ll Learn Today:
✔ The best blow-dry techniques for Afro-textured hair
✔ Expert-approved products to prevent heat damage
✔ Common mistakes and how to avoid them
✔ My personal routine & an expert’s take
Let’s get started!
💆🏾♀️ 1. Why Scalp Health Matters Before Blow-Drying
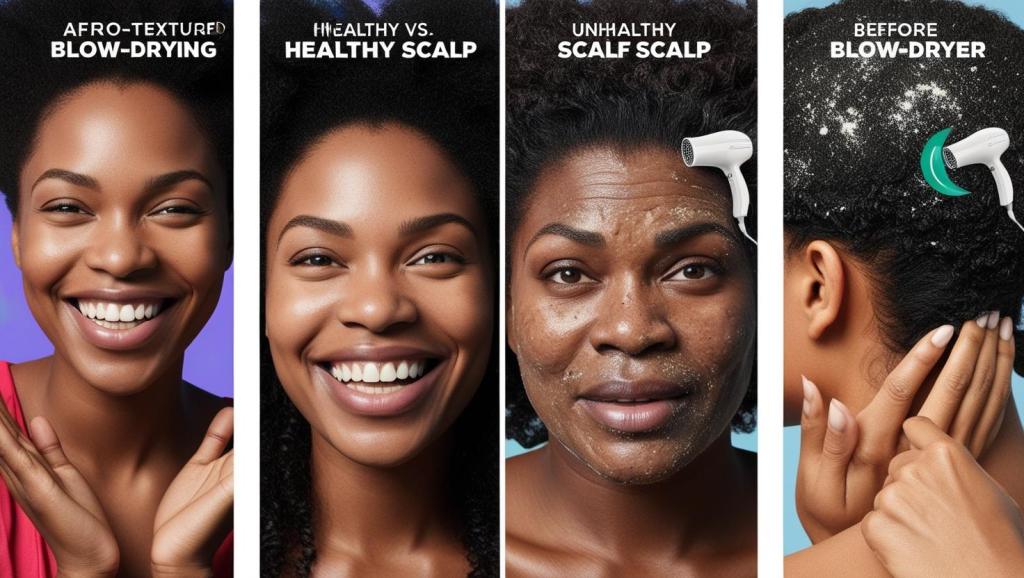
When I first started blow-drying my hair regularly, I noticed a lot of flaking and itching. I learned that a dry scalp leads to weak, brittle strands. After that, I started focusing on scalp health before using heat.
🌿 Here’s What I Do Now:
✅ I use a gentle, sulfate-free shampoo to remove buildup without stripping moisture.
✅ I deep condition before blow-drying to keep my strands hydrated and strong.
✅ I apply a lightweight scalp oil (like jojoba or tea tree oil) to lock in moisture.
🗣️ Expert Advice (Trichologist-Approved!):
„Healthy hair starts at the scalp. A dry or inflamed scalp weakens your hair follicles. This condition makes your strands more prone to breakage, especially with heat styling. Before blow-drying, nourish your scalp with hydrating treatments and lightweight oils.“ — Dr. Amara Greene, Trichologist
💡 Trending Tip: Look for probiotic-infused scalp treatments that balance the scalp microbiome and boost hair growth!

💨 2. Choosing the Right Blow-Drying Method for Your Hair
Not all blow-dry techniques are created equal. Here are three effective methods to consider:
🔥 Method 1: The Tension Method (Best for Minimal Heat Damage)
This method involves gently stretching a section of your hair while blow-drying from a safe distance.
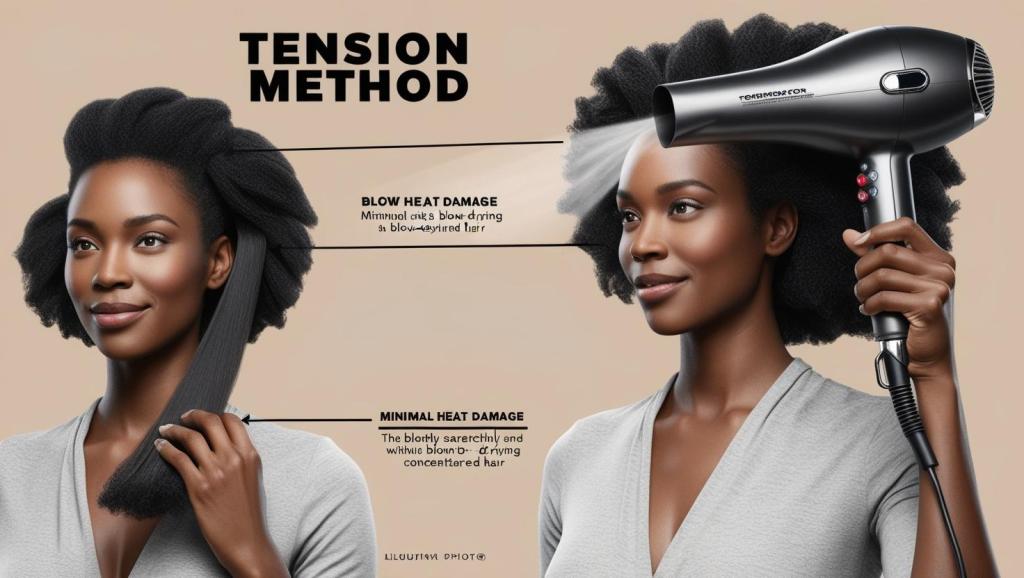
Why it Works: Reduces direct heat exposure while achieving a smooth finish.
How to Do It:
- Section your damp, moisturized hair.
- Hold the ends of a section taut while pointing the blow dryer downward.
- Use a medium heat setting and move the dryer around to avoid heat concentration.
💡 Personal Tip: This is my go-to method when I want to stretch my curls without sacrificing volume! It takes some patience but preserves my hair’s natural texture beautifully.
My Results: My hair stays soft, retains its curl pattern, and doesn’t feel fried after blow-drying.
🗣️ Expert Advice:
„The Tension Method is great because it minimizes heat exposure. Just remember to always use a heat protectant with ceramides or proteins to shield the hair cuticle.“ — Michelle Thomas, Licensed Natural Hair Stylist
🌬️ Method 2: The Comb Attachment Method (Best for Smoother Results)
This method uses a comb attachment to detangle and dry hair simultaneously.

Why it Works: Efficiently dries and stretches hair with less manipulation.
How to Do It:
- Apply a heat protectant and divide hair into sections.
- Use a blow dryer with a comb attachment, starting at the ends and working up.
- Keep the dryer on medium heat and move it steadily through your hair.
💡 Pro Tip: This method is excellent for achieving a sleek look. Make sure your hair is well-detangled beforehand. This helps you avoid snagging!
🗣️ Expert Advice:
„When using a comb attachment, always start with the ends. Then work your way up to avoid pulling on your roots. Also, opt for dryers with ionic technology—it helps reduce static and frizz!“ — Latoya Carter, Professional Stylist
💁🏾♀️ Method 3: The Round Brush Method (Best for a Salon Blowout Look)
A round brush is used to add body and shine while straightening hair.
Why it Works: Creates volume and smoothness for a polished finish.
How to Do It:
- Use a high-quality round brush with heat-resistant bristles.
- Wrap a section of hair around the brush and pull it taut while drying.
- Work in small sections for the best results.
💡 Personal Experience: I reserve this technique for special occasions because it gives me a silky, salon-like finish!
🗣️ Expert Advice:
„For a flawless silk press, keep the dryer on medium heat. Always finish with a cool shot to seal the cuticle. This will reduce frizz.“ — Erica Lawson, Silk Press Specialist
Safety Tips to Prevent Heat Damage
- Always apply a heat protectant before blow-drying.
- Keep the dryer at least 6 inches away from your hair.
- Use the cool setting at the end to lock in moisture and reduce frizz.
- Limit blow-drying to once a week to prevent excessive dryness.
Expert Advice: “To maintain hair health, always use a leave-in conditioner before blow-drying. It acts as an extra barrier against heat damage.” – Trisha A., Licensed Cosmetologist
🚫 3. Common Mistakes & Products to Avoid
Trust me, I’ve learned the hard way that some products do more harm than good when paired with heat. Here are my top product NOs:
❌ Heavy oils & butters (like shea butter or castor oil) – These oils can literally “fry” your hair. This happens when they are exposed to high heat.
❌ Alcohol-based heat protectants – These dry out your hair, making it more prone to breakage.
❌ Thick leave-in conditioners with no heat protection – They can cause buildup and weigh hair down.
💡 Better Alternatives:
✅ Lightweight heat protectants with proteins and ceramides
✅ Bond-repairing heat protectants (like Olaplex No.7 or Mielle Mongongo Oil)

🗣️ Expert Advice:
„Always check ingredient labels! Look for heat protectants with hydrolyzed proteins, silicones, and natural hydrators like aloe vera.“ — Dr. Kendra Williams, Cosmetic Chemist
✨ 4. My Step-by-Step Blow-Dry Routine (Easy & Safe!)
Here’s the routine that works best for me:
💆🏾♀️ Step 1: Wash with a hydrating shampoo & deep condition for moisture retention.
💨 Step 2: Apply a lightweight leave-in conditioner & heat protectant.
✂ Step 3: Section my hair into 4-6 parts for easier blow-drying.
🌬 Step 4: Use the Tension Method OR a Comb Attachment depending on the look I want.
🛑 Step 5: Finish with a scalp-friendly oil for hydration & shine.
💡 HOT TIP: I always air-dry my hair 50% before using the blow-dryer to reduce heat exposure and damage!
💬 Final Thoughts: Is Blow-Drying Healthy for Afro Hair?
Yes! Follow a proper routine and protect your strands. Blow-drying can help prevent tangles, shrinkage, and knots. All of these can lead to breakage.
Key Takeaways:
✔ Always use a heat protectant before blow-drying.
✔ Deep condition regularly to strengthen your hair.
✔ Use low to medium heat and finish with a cool shot.
💬 Healthy Blow-Drying for Beautiful Hair
Blow-drying can be a powerful tool when used wisely. Choose the right method and use the best products. Follow safety guidelines to achieve stunning results without compromising your hair’s health.
Your Turn: What’s your biggest challenge when blow-drying your hair? Let’s talk in the comments! 💕
Engaging With You! 💬
Have you tried any of these methods? Which one works best for your hair type? Share your thoughts in the comments!
🔔 Subscribe to stay updated on the best Afro hair care tips!

Hinterlasse einen Kommentar